Download
CloudEdge is available for both iOS and Android OS. Search the name’CloudEdge’in App Store or Google Play, or scan the QR-Code todownload the App.

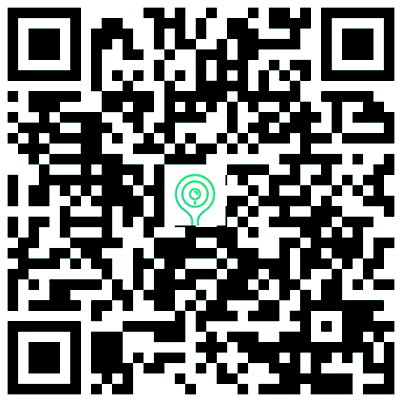
Download App(Android&IOS)
Registration
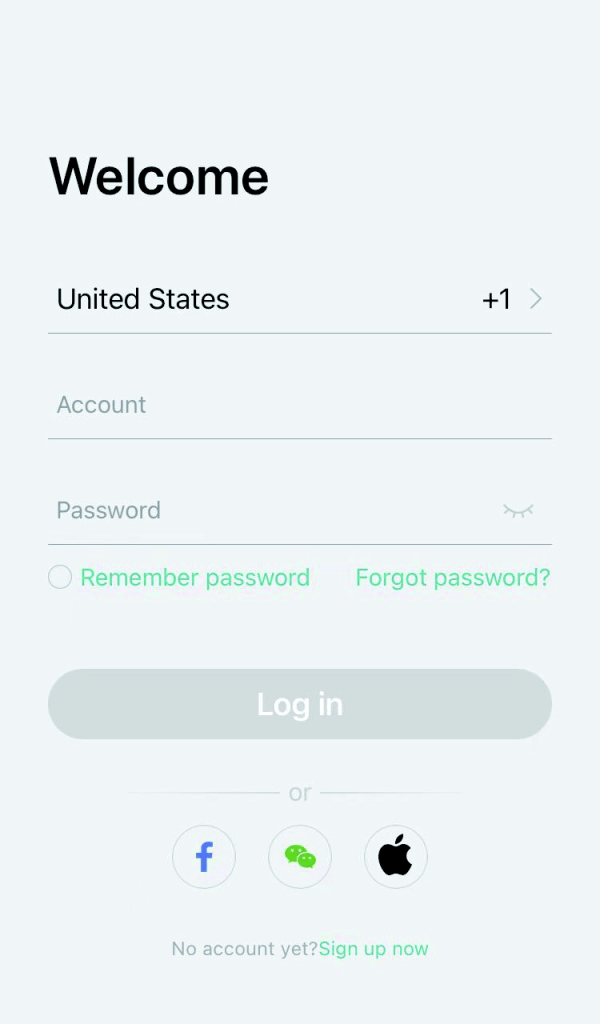
Step 1:Open the App, click “Sign up now” to register.
If you already have an account, click “Log In” to log in
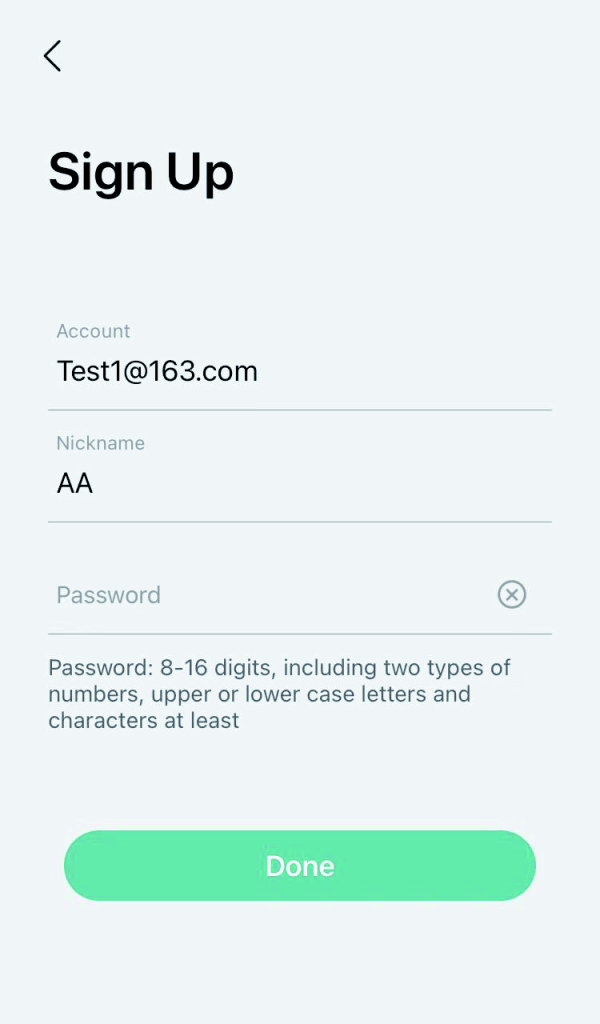
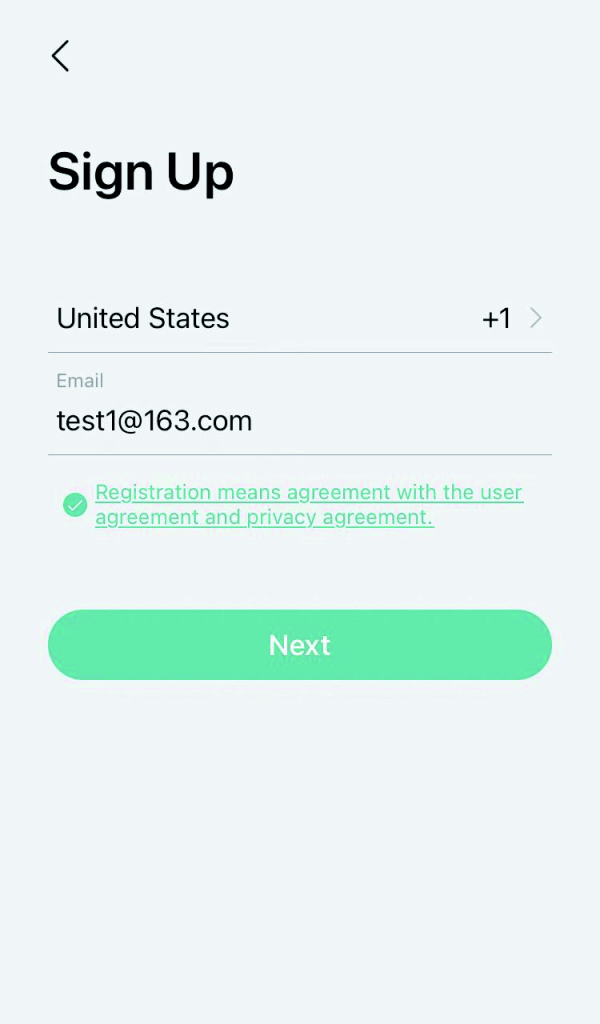
Step2:Input a legal Email address and check the privacy aggreement.Then enter the nickname and password.
Device Adding
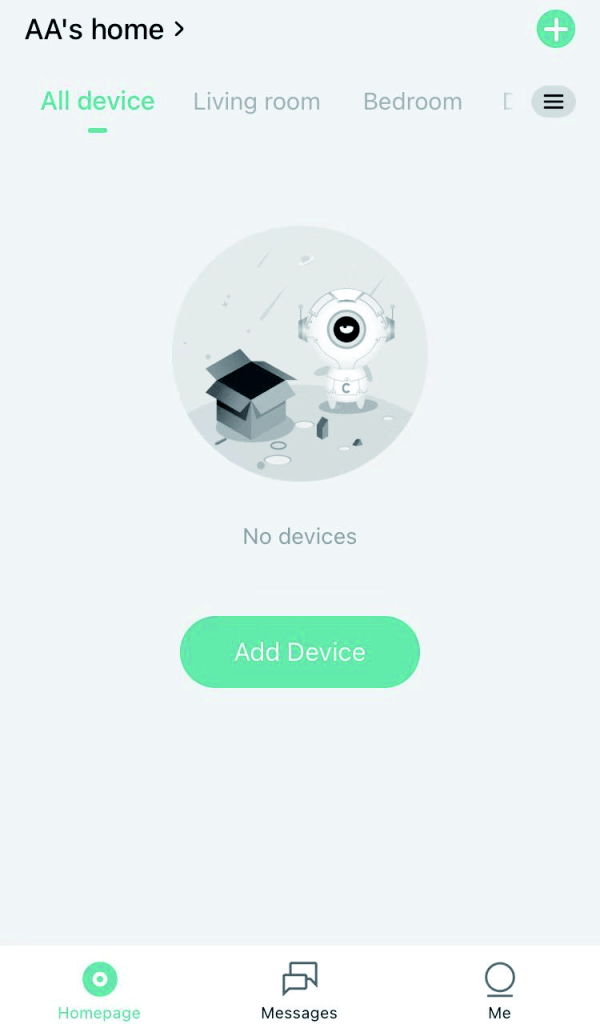
Step 3 :Click “Add Device” or “+”, and then select the corresponding camera icon to add.
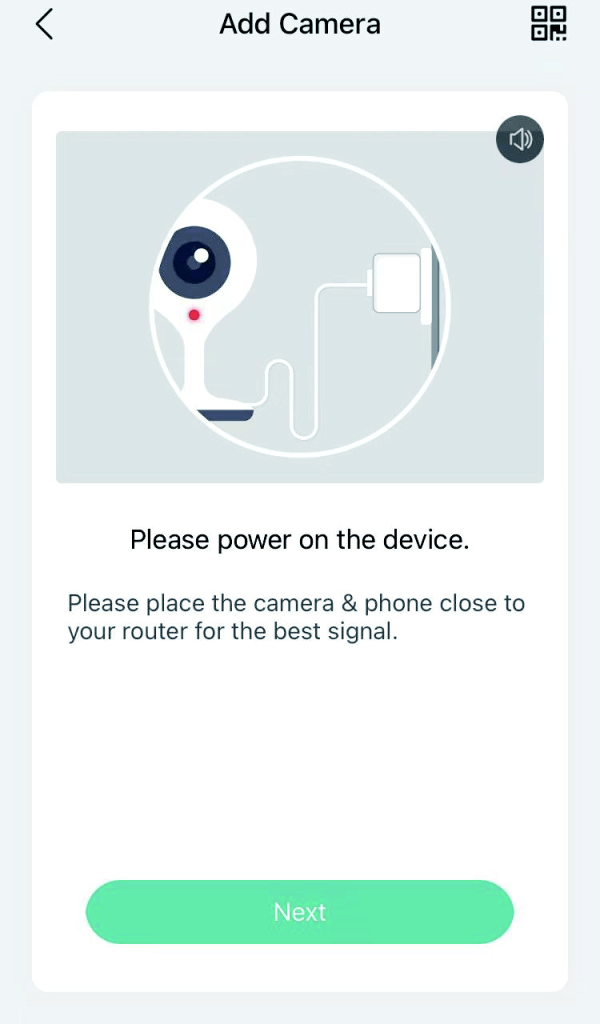
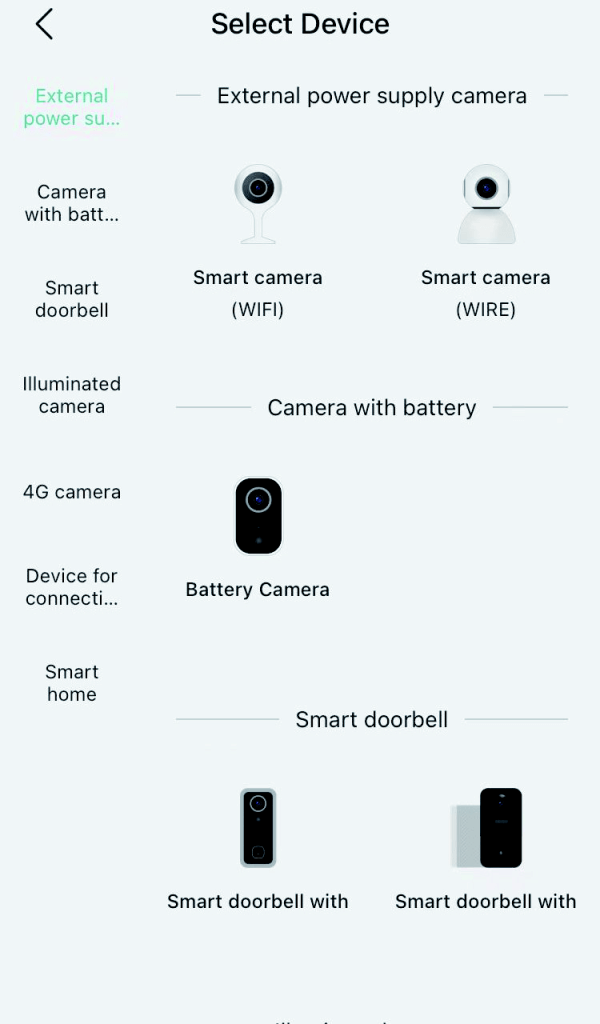
Step 4:Power on the device and click “Next” on App.
Device Adding
Step 5:Reset the camera and click “Next” on App.
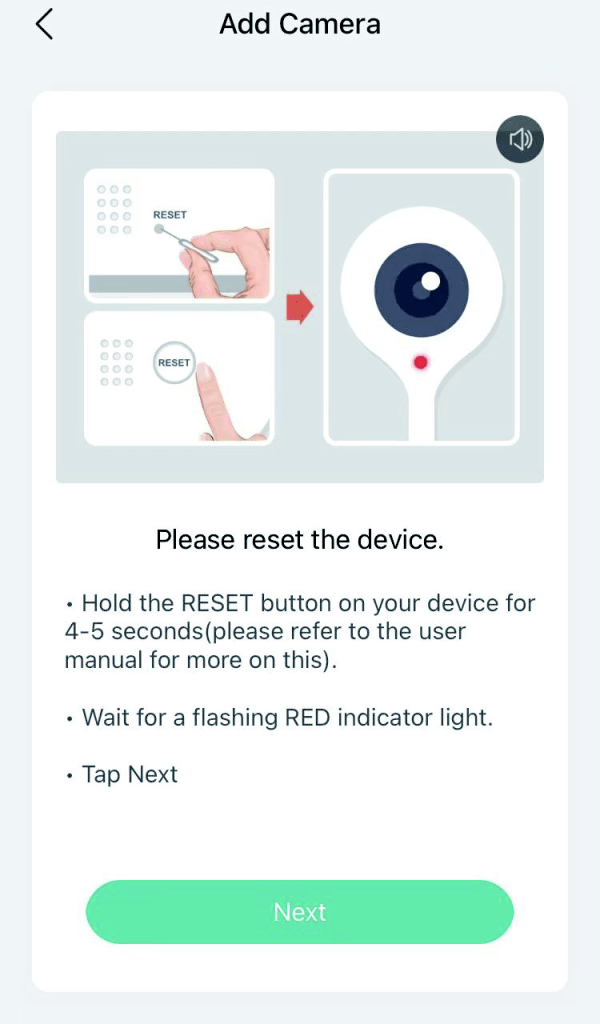

Step 6:Select the WiFi network and input the password, and then click “Next”.
Note:
1) Camera only supports 2.4GHz WiFi network.
2) The number of bits in the ssid and passwords of the router should not exceed 24 digits.
Device Adding
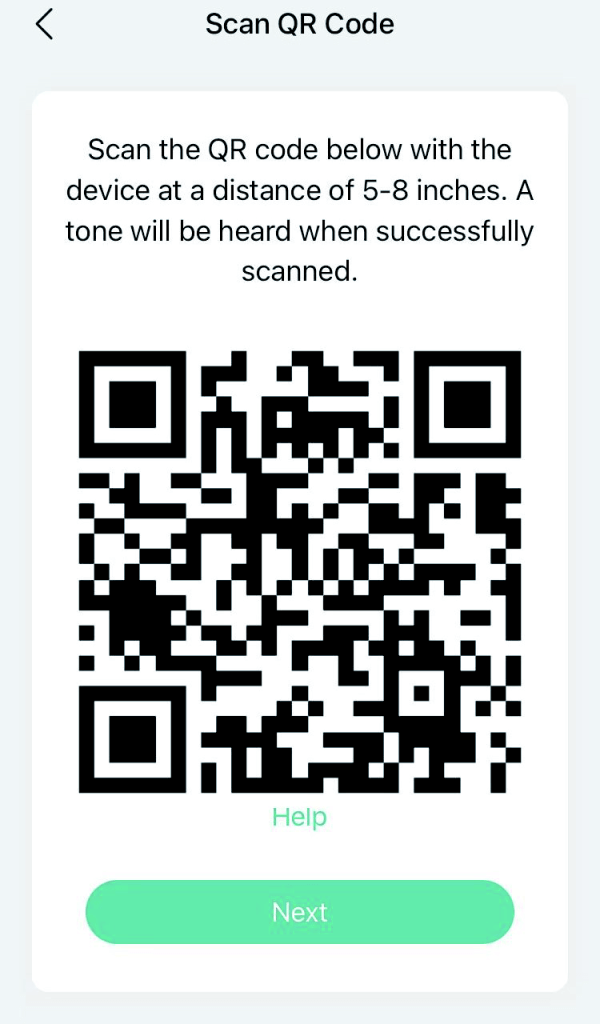
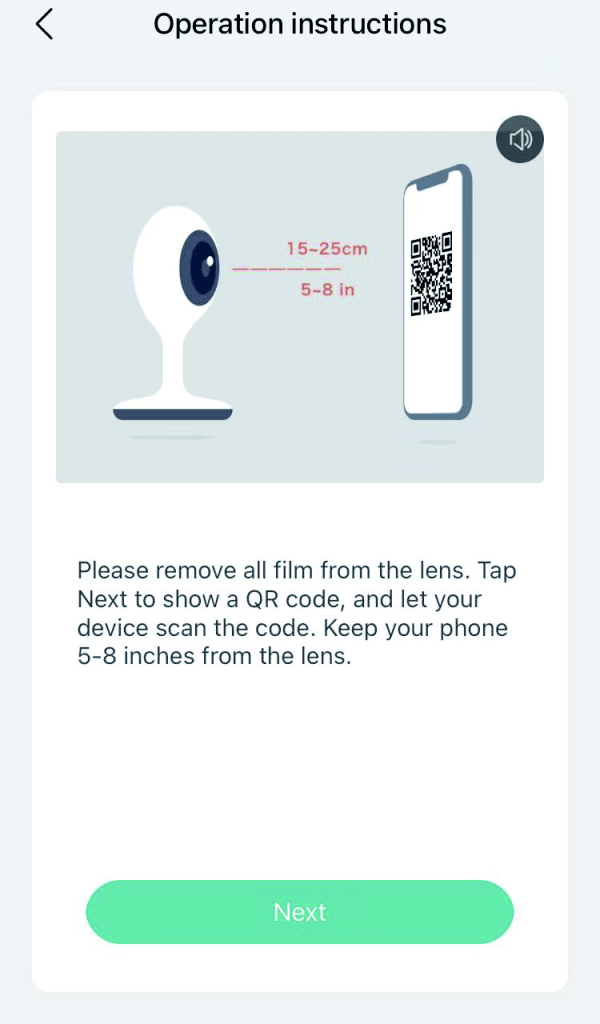
Step 7:View the operation instructions of scanning, and then click “Next”.Scan the QR code in your phone with the camera and click “Next”,when the camera comes out “dong dong dong”. And you can complete the configuration about 30s.
Device Adding
Step 8:When connecting, you should make sure your router, mobile and camera are as close as possible.
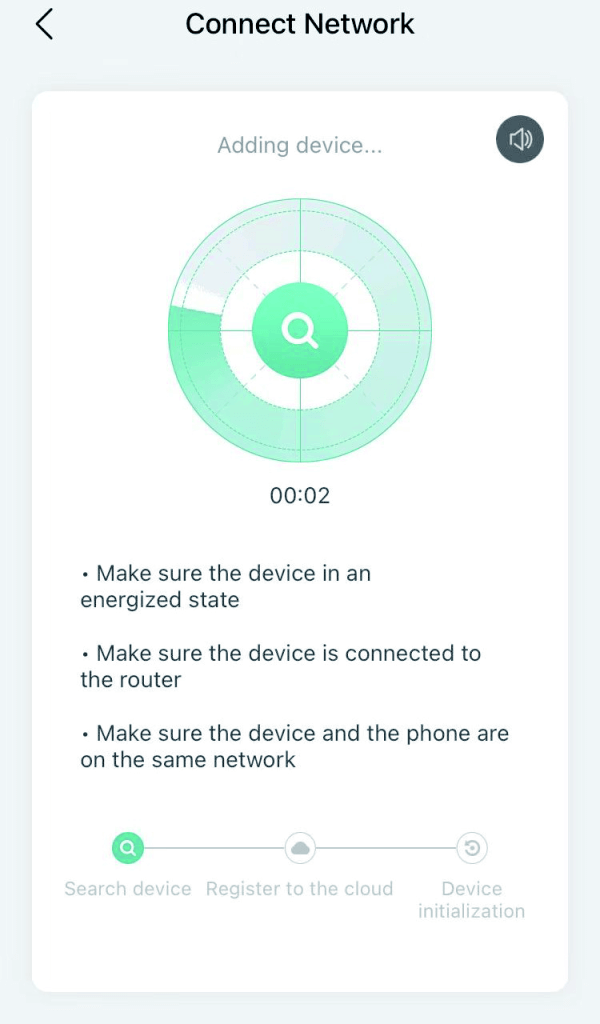
Device Adding
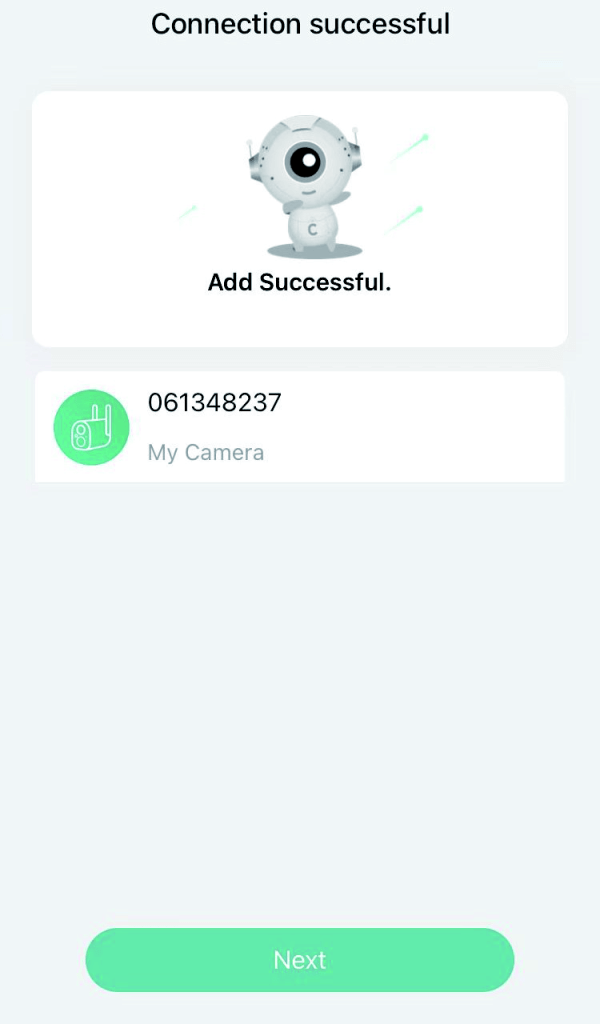
Step 9: Follow the on-screen instrcutions.You can click ” ” to DIY the camera’s name.

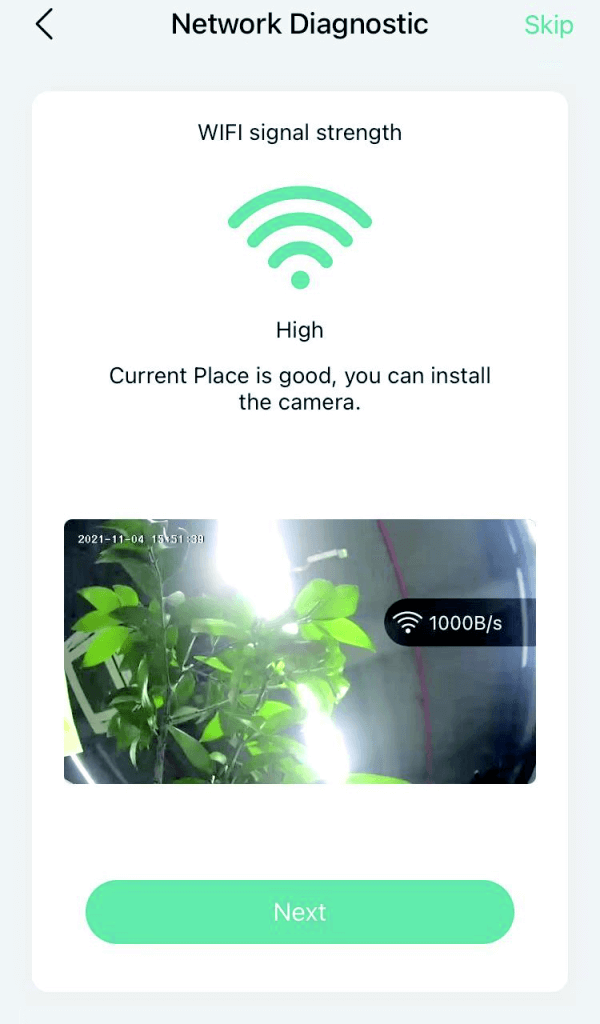
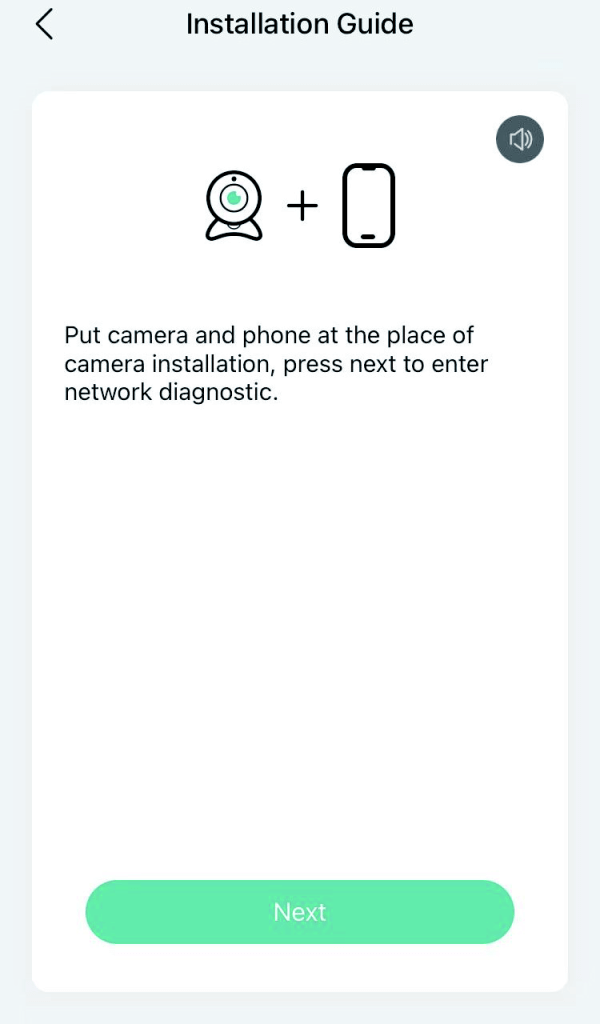
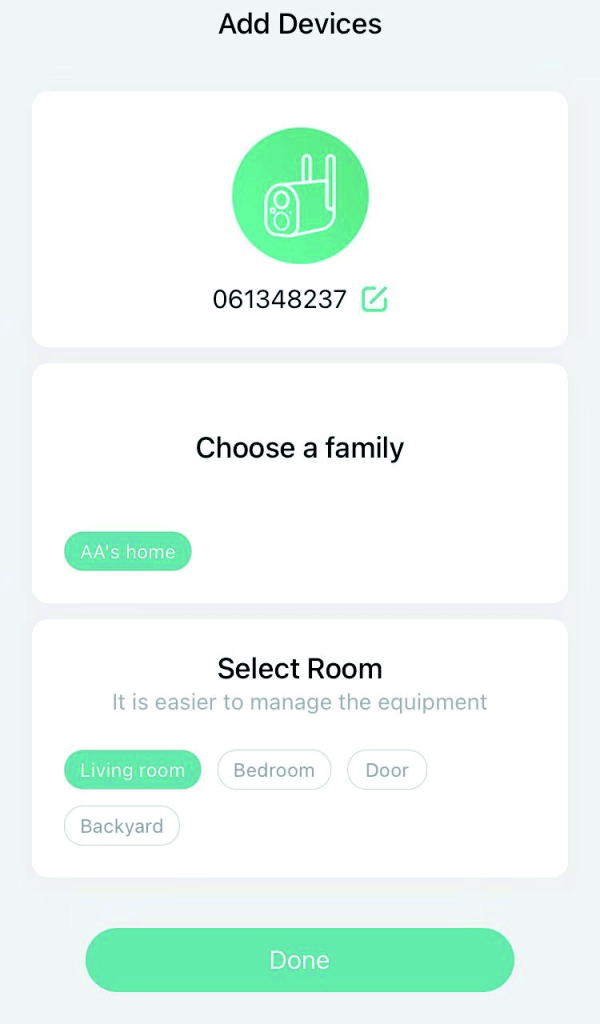
Settings
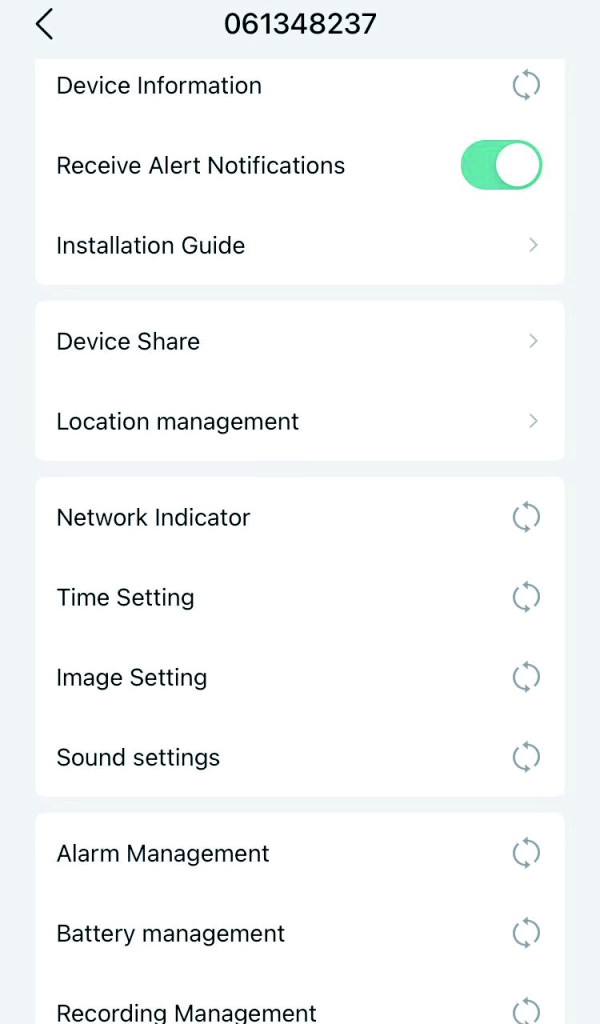
Step 10:In live view interface, click “Setting icon”, and then you can set up the camera common functions.
