Please note that this tutorial was written in October2022. After that, the software and hardware may be updated/upgraded and no longer applicable. It is for reference only, and I hope it can help you!
Ⅰ: How to link a doorbell with a smartphone
1.CloudEdge.App, you can download it from AppStore or Google Play by searching for “CloudEdge”, or scan the QR code to download the App, or click this link:

2) Register an account:
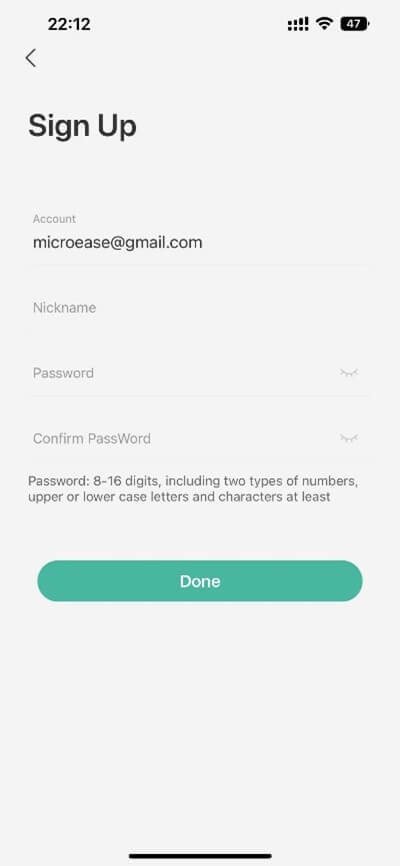
Click the “Sign up Now” button on the main interface. →The address of the registered account is required here, and you need to register with your email or mobile phone number. You can also choose to log in using Facebook, WeChat or Apple ID. Then enter your email or mobile phone number. If you enter a mobile phone number, you need to select the international area code. → Enter the nickname, password and repeat password to register successfully.
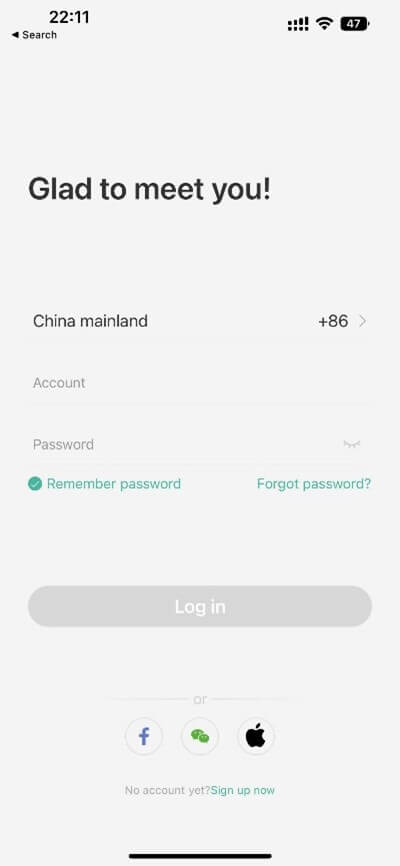

3)How to log in to the account: Return to the main interface and enter the account and password you just registered to log in to the App.
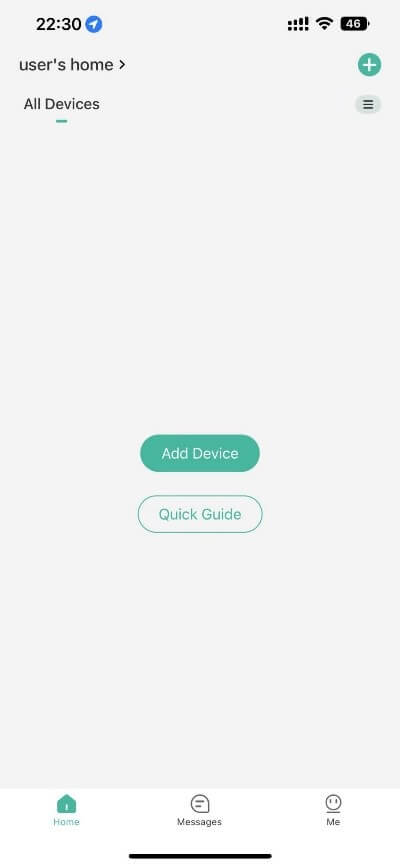
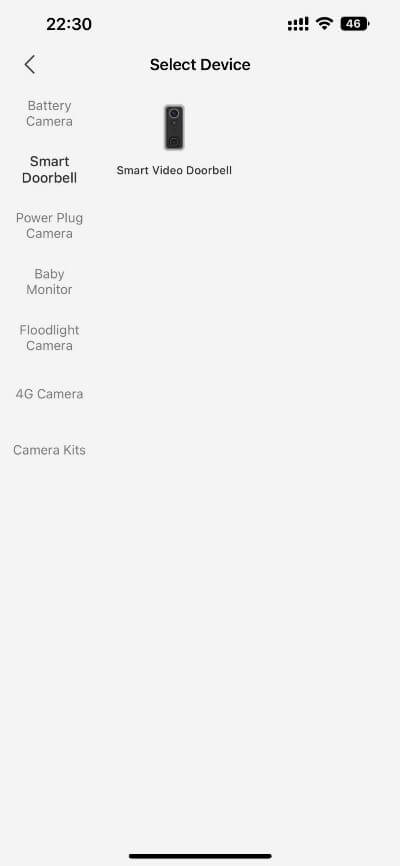
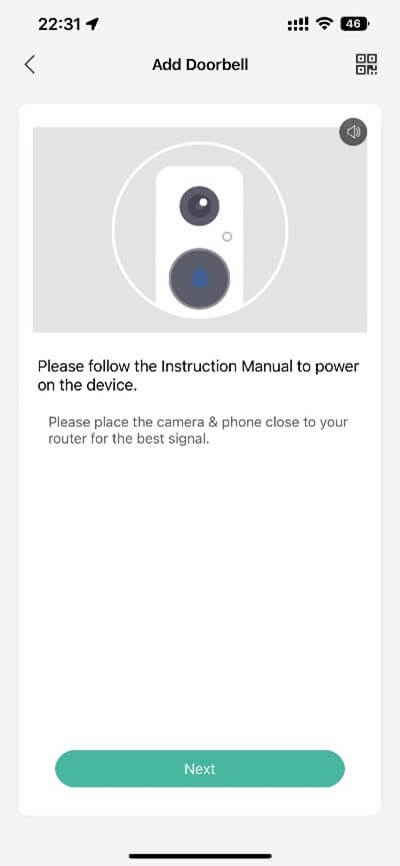
4)How to connect a device: go back to the main interface and click the Add Device button → Select Smart Doorbell and click the Smart Video Doorbell icon → Please short press the PUJIRI_P1 doorbell button to turn on the power of the doorbell. You also need to select a place with a good WiFi signal to connect. (Here is the link using the QR code scanning method, the default link method)
Tip: During this process, it is recommended to turn on the sound of the mobile phone, and our App will prompt you how to operate by voice/video/image.
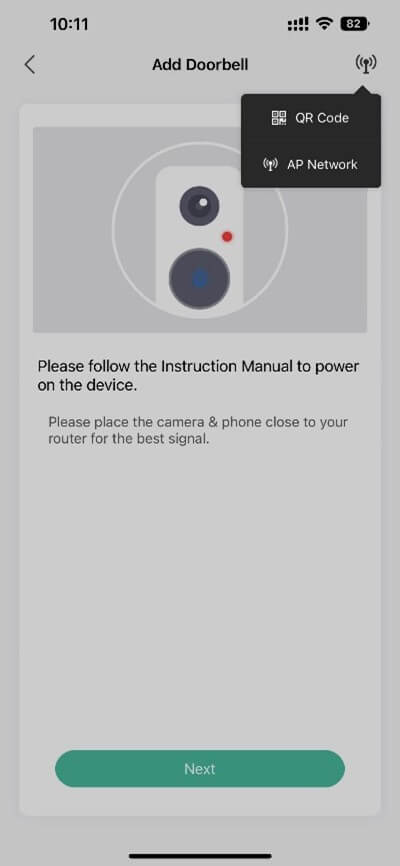
- Please follow the Instruction Manual to power on the device.
- Please place the camera & phone close to your router for the best signal
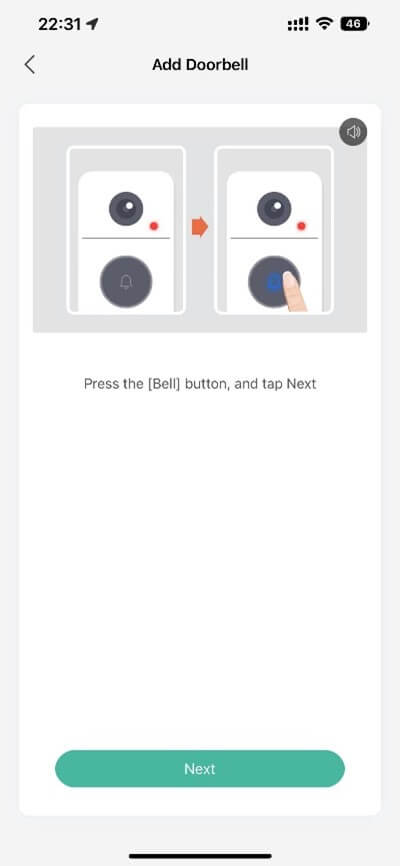
5)Press the[Bell]button,and tap Next
6)Please reset the device.
*Using the supplied reset pin,reset the device(please refer to the user manual for more on this)
*Wait for the LED indicator to flash RED
*Tap next
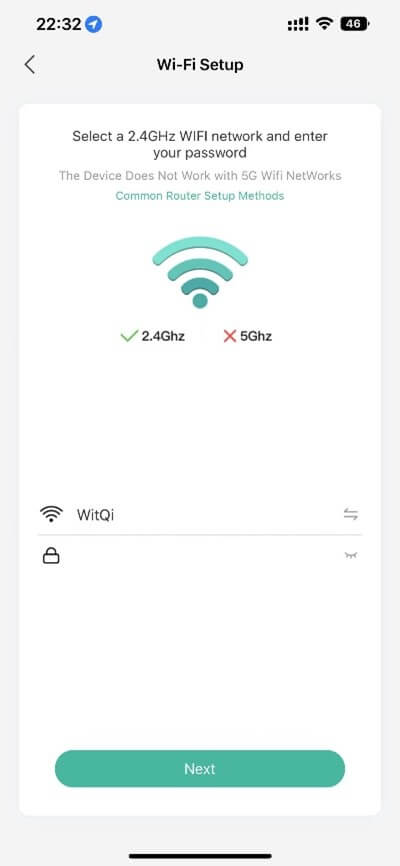
7)Please enter your 2.4Ghz WiFi and WiFi password on this interface. Please note that our machine can only use 2.4Ghz WiFi. If your router uses a converged WiFi frequency band, please change it to a separate frequency band for 2.4Ghz and 5Ghz WiFi, and Enter your 2.4Ghz WiFi SSID and password.
Common Router Setup Methods
If your router supports both 2.4GHz and 5GHz Wi-Fi,but only one Wi-Fi name can be found on your phone’sWi-Fi search page, please follow these steps:1.Go to the router’s ‘Wireless’ page..
2.Find the 2.4GHz settings page, change the wi-fi name (ssid) to ‘xx-2.4g’, and save the Settings.
3.Find the setting page of 5GHz, change the Wi-Fi name (SSID) to ‘XX-5GI, and save the settings.
4.After the name changed, you can find ‘XX-2.4G’ and ‘XX-5G’ respectively in the Wi-Fi search page of the phone.
wireless router need to connect to the network again.
If the password has not been changed/ the old password remains.
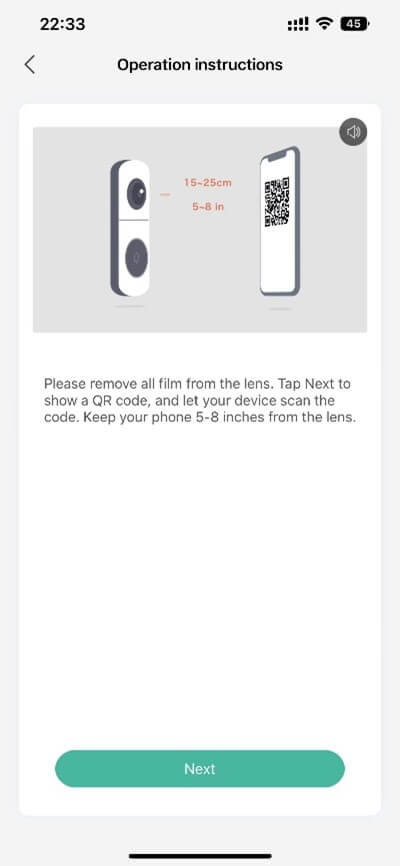
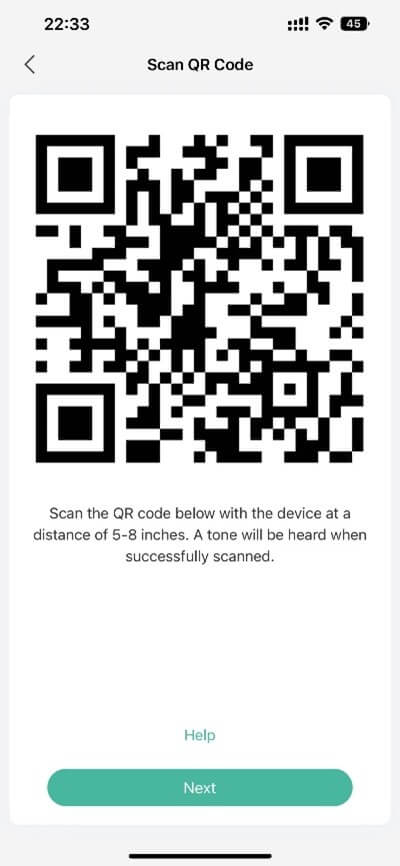
8)Please remove all film from the lens. Tap Next to show a QR code, and let your device scan the code. Keep your phone 5-8 inches from the lens.
9)Scan the QR code below with the device at a distance of 5-8 inches. A tone will be heard when successfully scanned.
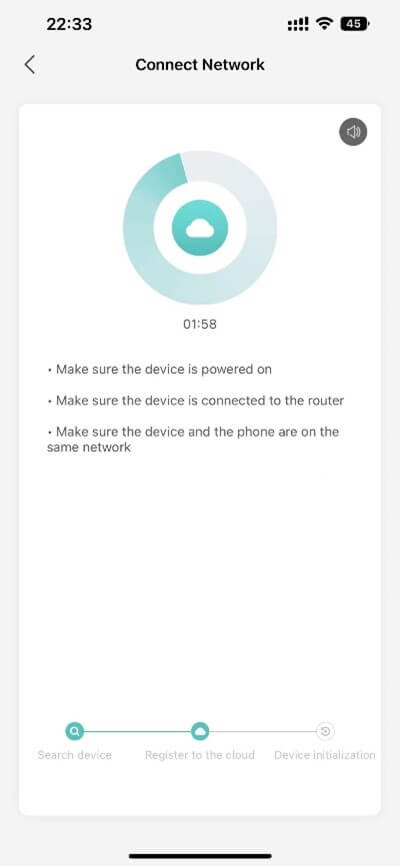
10)The device enters the network distribution process, please wait patiently for about 2 minutes
• Make sure the device is powered on
• Make sure the device is connected to the router
• Make sure the device and the phone are on the same network
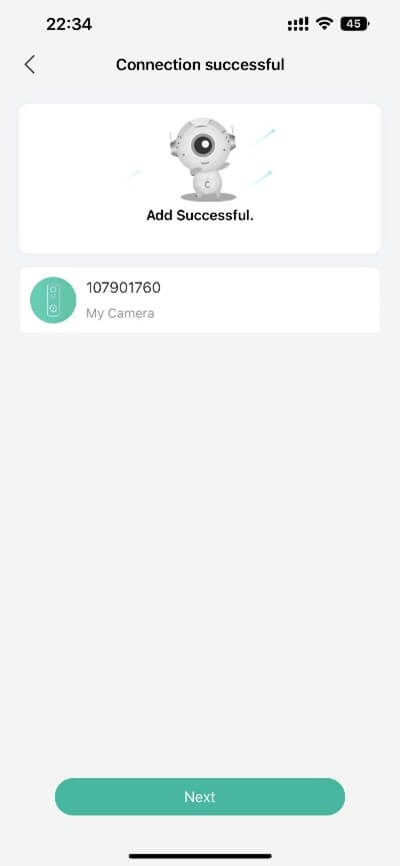
11) The link is successful, click Next to enter the process of installing the device.
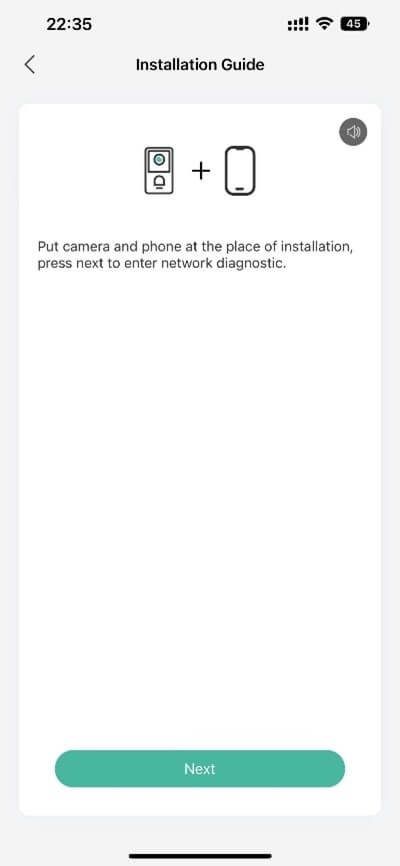
12)Put camera and phone at the place of installation,press next to enter network diagnostic.
13)Current Place is good, you can install the camera.
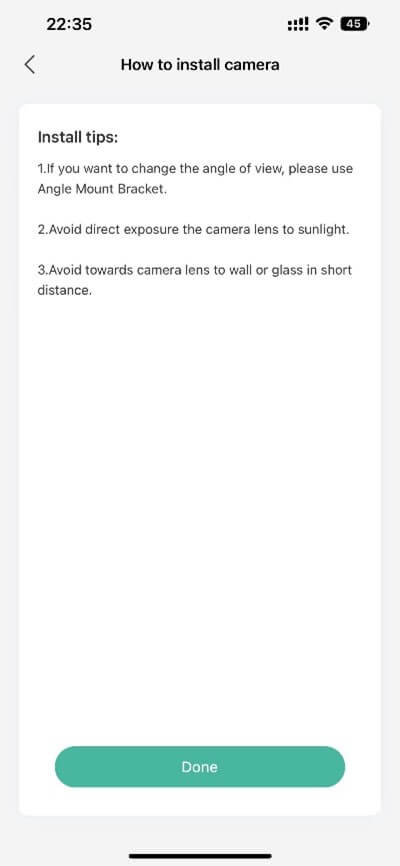
Install tips:
- If you want to change the angle of view, please use Angle Mount Bracket.
- Avoid direct exposure the camera lens to sunlight.
- 3,Avoid towards camera lens to wall or glass in short distance.
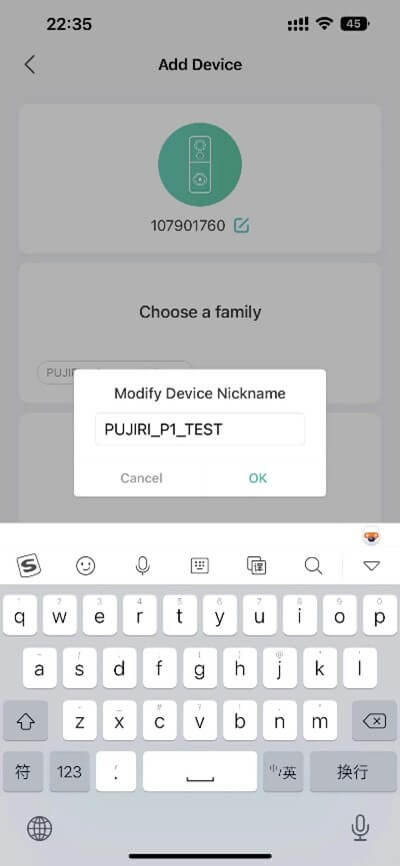
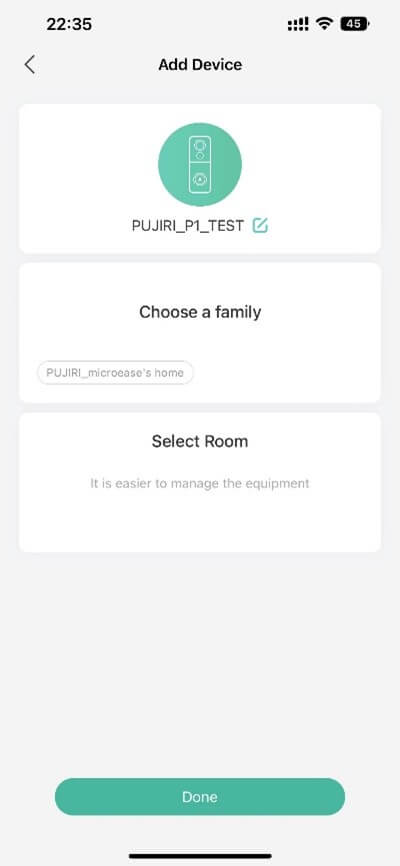
14) Enter the Add Device process, where you can modify the device name or select family (for this function, refer to the next chapter: family management.
15) After selecting, click Done, congratulations, you have completed all the App link work, and you will be able to use your new doorbell.
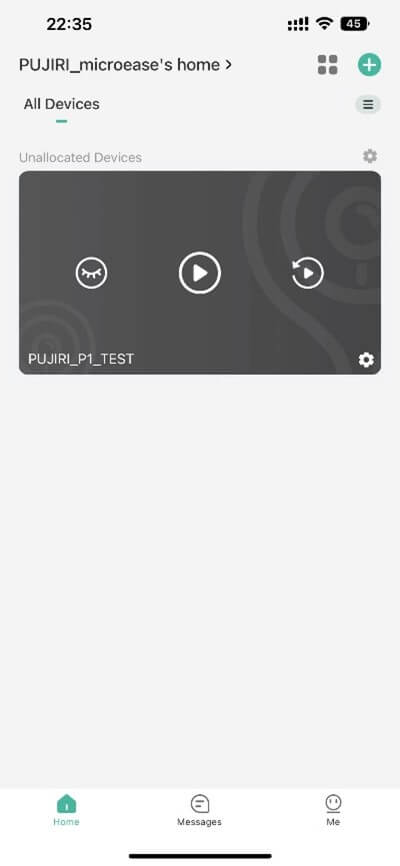
16) Automatically jump into the main interface to see your new doorbell
17) Use the AP hotspot method to link the doorbell, click the QR code icon in the upper right corner of the Add Doorbell interface, and switch to the AP hotspot method to link the doorbell.
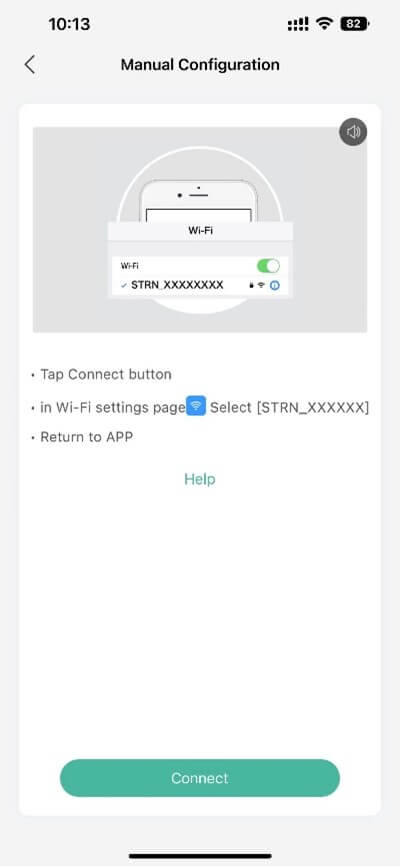
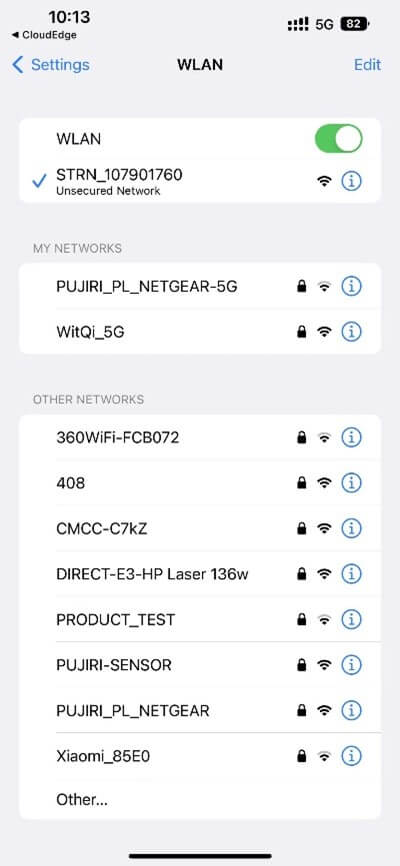
18) After resetting the machine, click the link button and select the WiFi starting with STRN in the WiFi link interface.
• Tap Connect button
• in Wi-Fi settings pagea Select [STRN_XXXXXX] Return to APP
19) Other operations are exactly the same as using the QR code link.
Ⅱ: Home and device location logic
1).How to create a family
Click: me→Click Family Management→Click Create Family, fill in Family Name (required); Family Location; →Click Add another Room
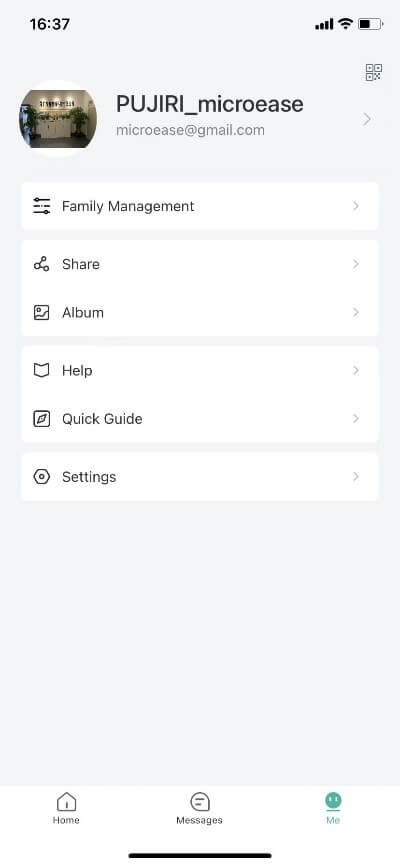
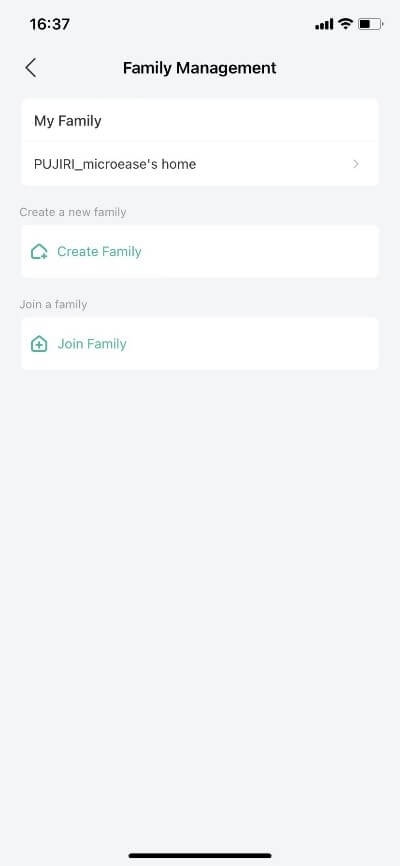
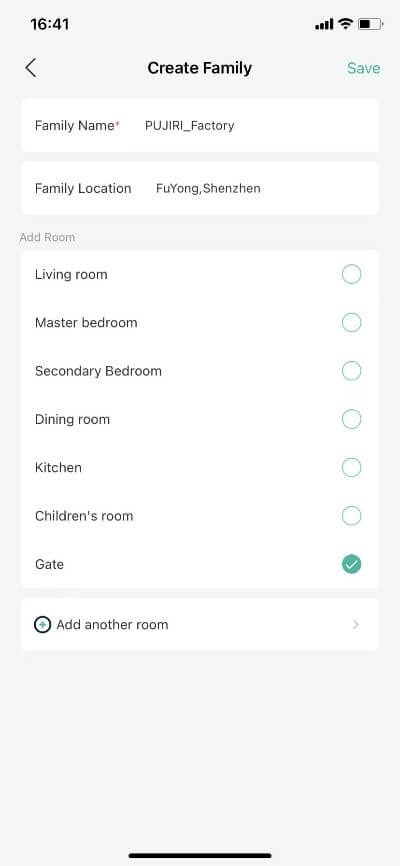
By creating homes and rooms, you can manage all your devices by category, not just doorbells, but all products that use CloudEdge.
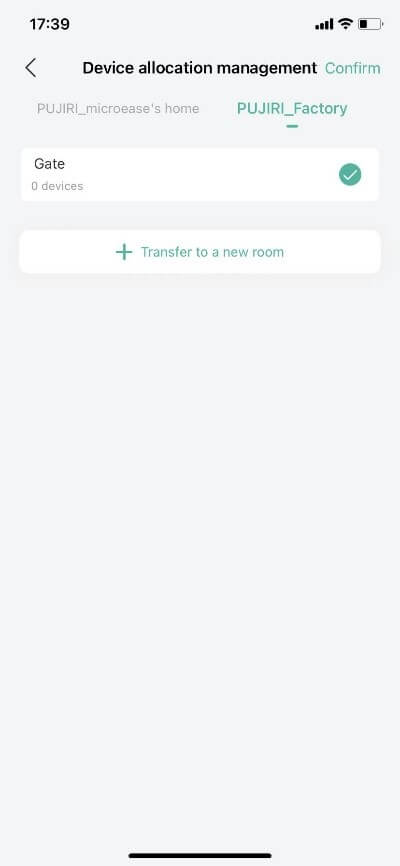
2).How to move a device to a certain home and room
Click the settings icon (gear shape) next to Unallocated Deviced→Select the device you want to adjust→Select the home and room you want to adjust to
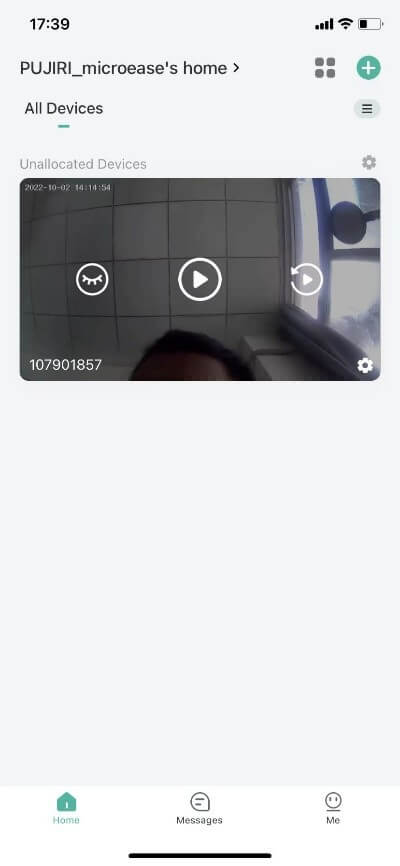
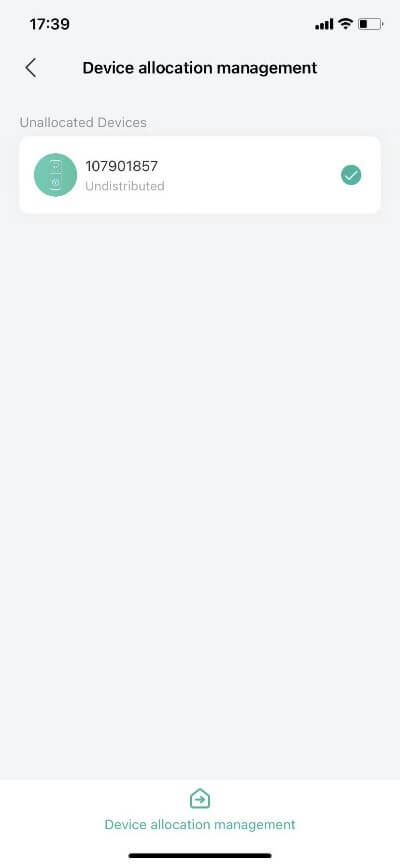
3).How to share the device
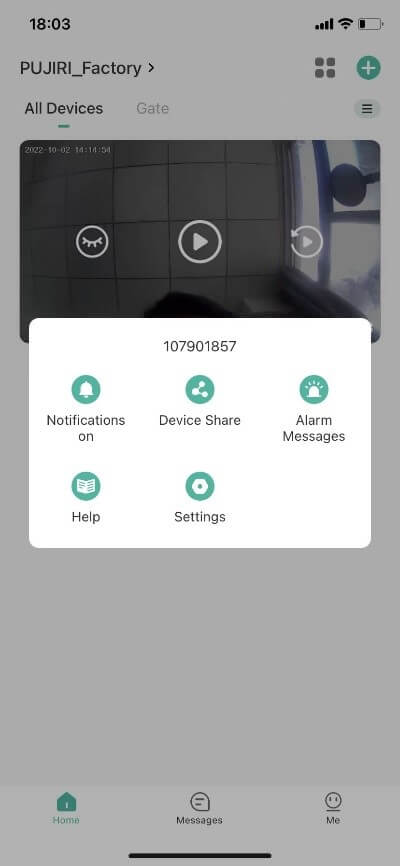
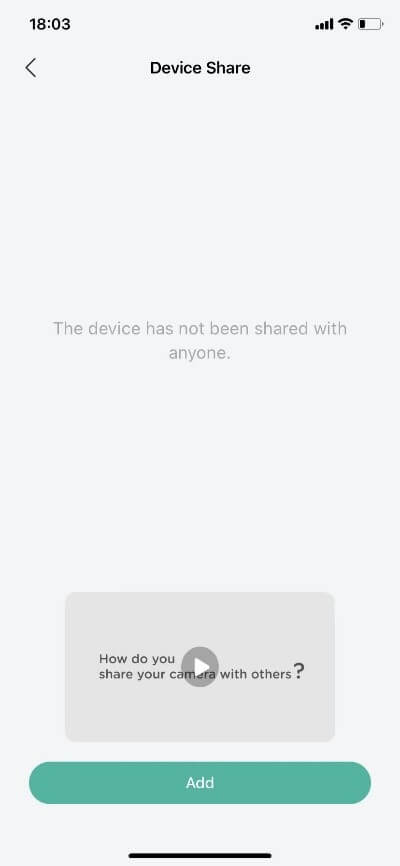
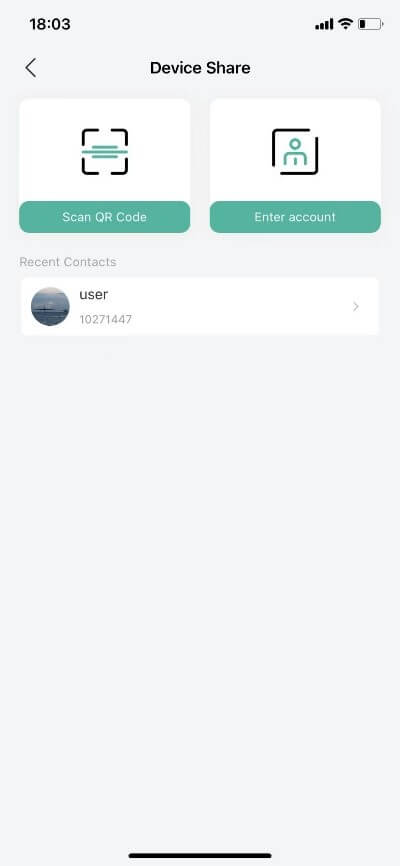
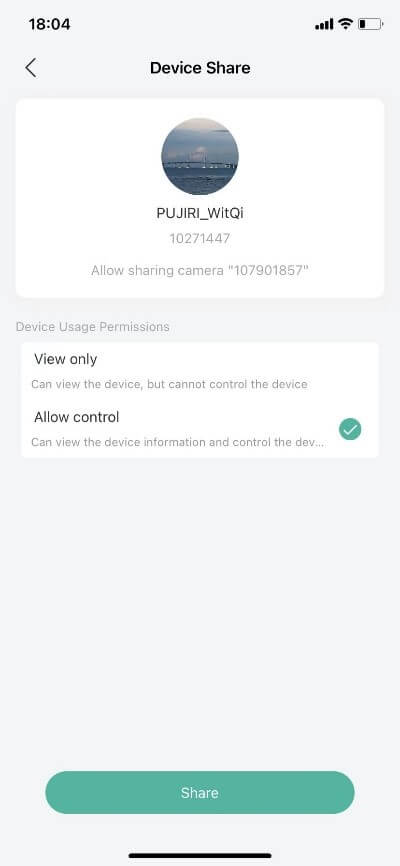
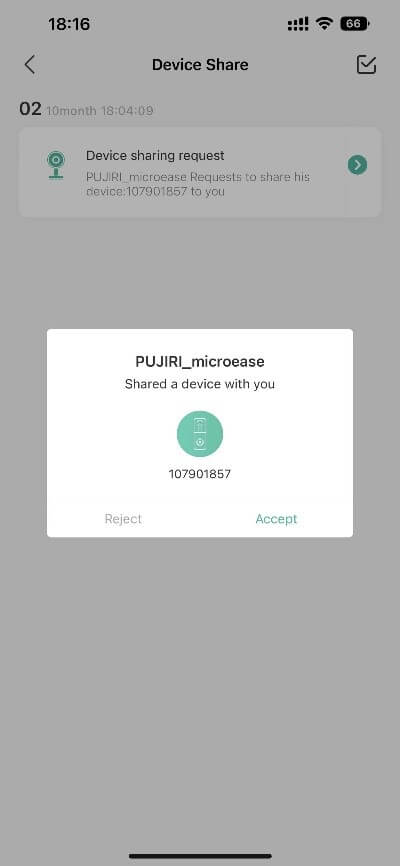
Click the settings button (gear shape) in the lower right corner of the device preview → to enter the Device Share interface, you can also view the video, click the Add icon select QR Code sharing or account sharing → select the sharing permission (only view/or manage permission) → Select Accept in the new account to view the device in the new account.
4) Share home/room Click Me → Click Family Management → Click the Family you want to manage
Ⅲ: Full functionality of the App
1) Click Me → Click the QR code icon in the upper right corner to view the QR code of this account for sharing.
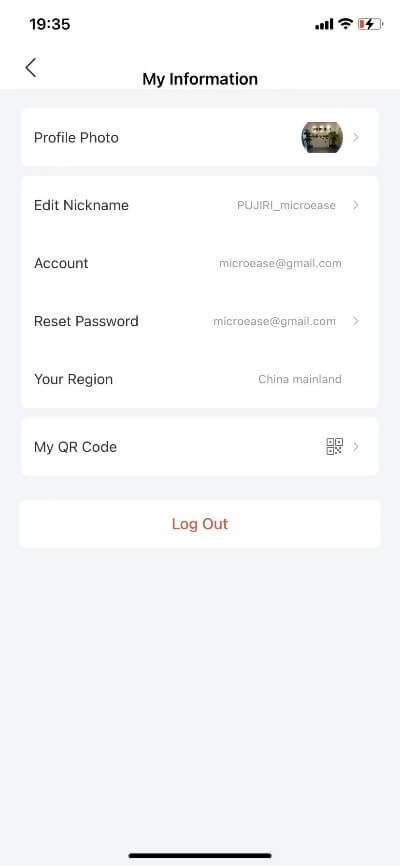
2) Click Me → Click on the avatar or account name → to edit the avatar/nickname, etc.
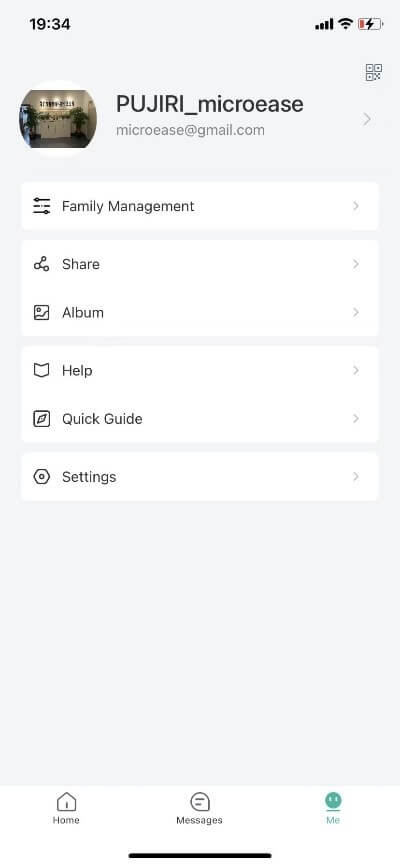
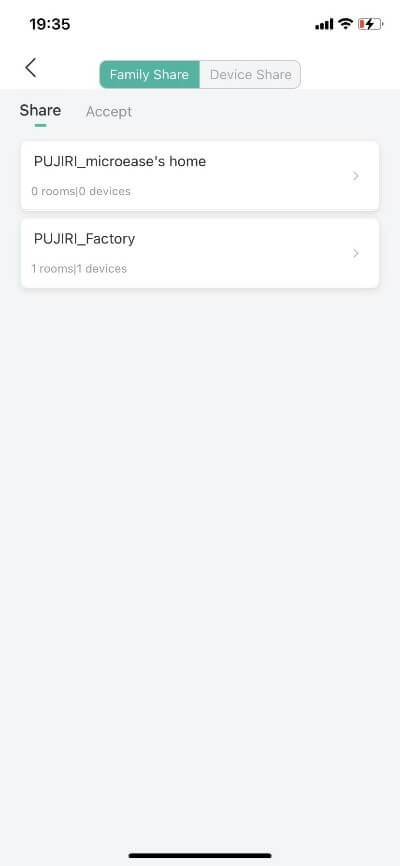
3) Click Me → Click Share → to share home/share devices.
4) Click Me → Click Album → to view the album, including screenshots and videos.
5) Click Me → Click Settings → to view the App version/clear cache/delete account/control ringtones
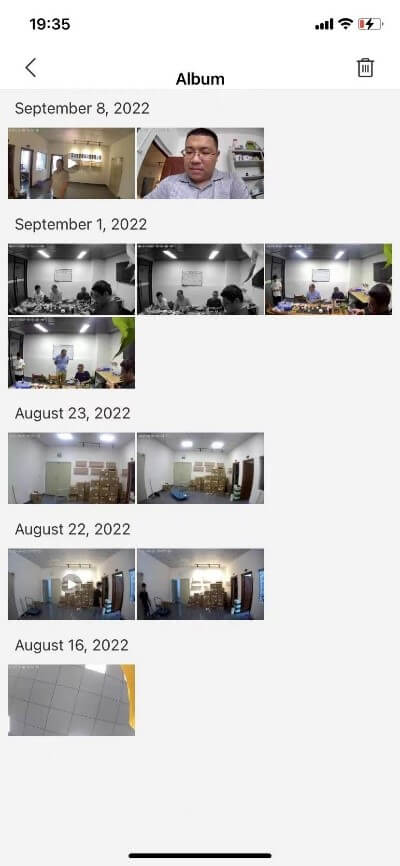
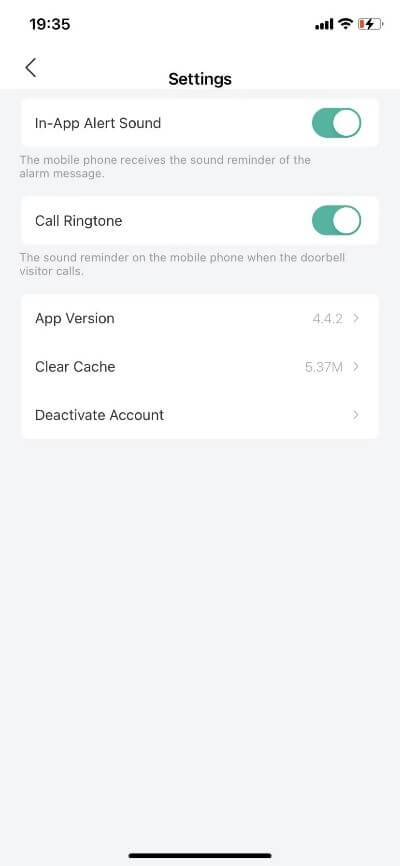
6) Click the three icons on the Home → device: open/close preview, enter preview, enter playback.
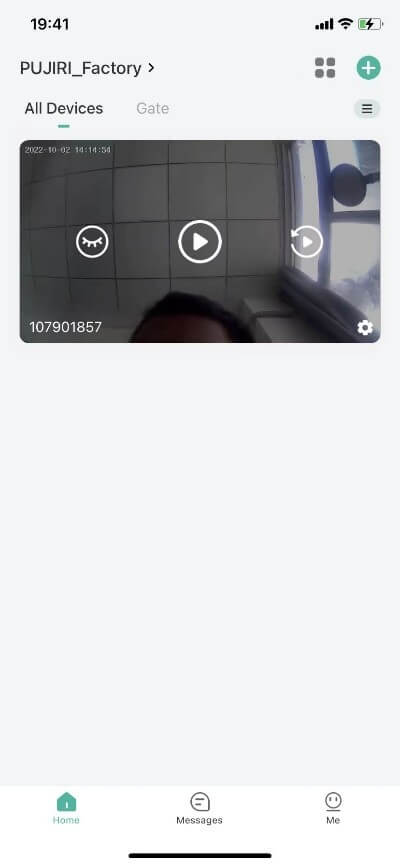
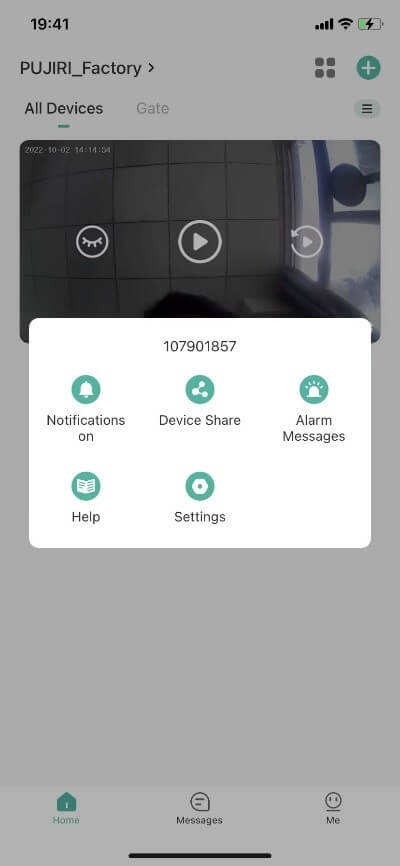
7) Click the settings icon → of the device to turn off/on notifications, share, view the notification timeline, and enter the device settings.
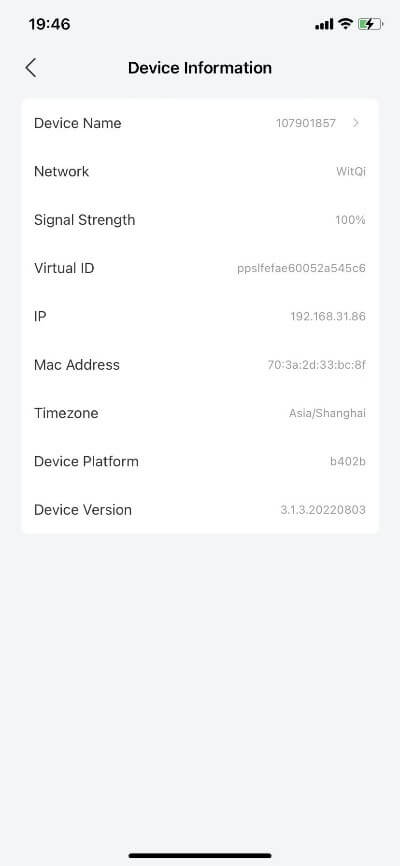
8) Click Settings → Click Device Icon/ID → View Device Nickname, WiFi Nickname, Signal Strength, Device ID, IP, Mac, Time Zone, Device Platform, Device Version
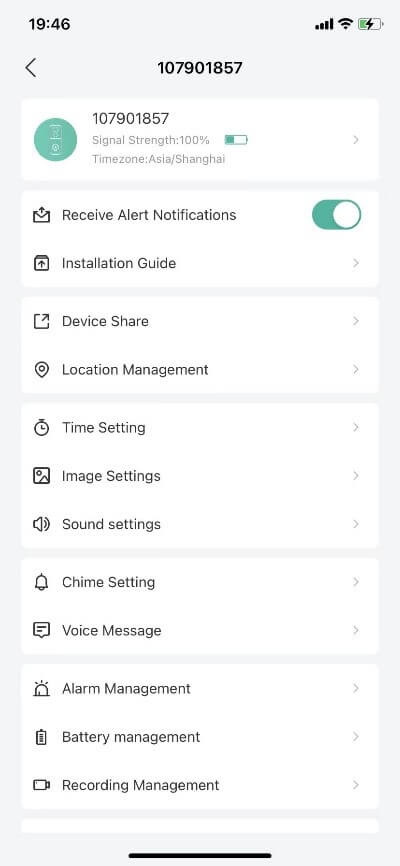
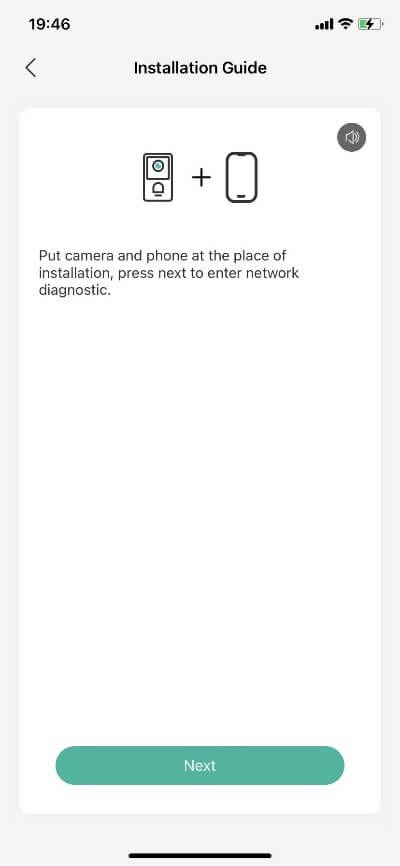
9) Click Settings → Click Installation Guide to check the signal strength of the current location and whether it is suitable for installation.
10) Click Settings → Click Device Sharing → to share the device
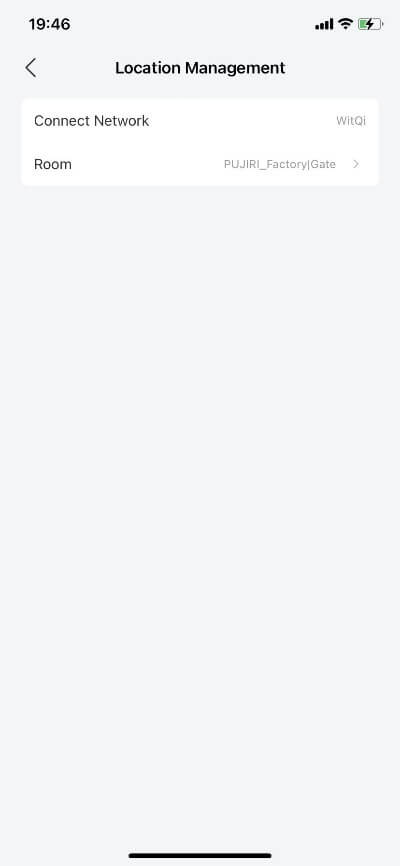
11) Click Settings → Click Device Area Management to manage the home and room where the device is located.
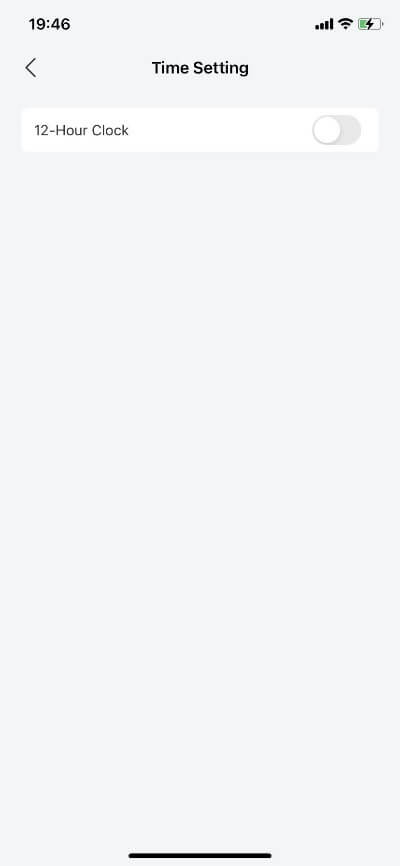

12) Click Settings → Time Settings to enable or disable the 12-hour clock.
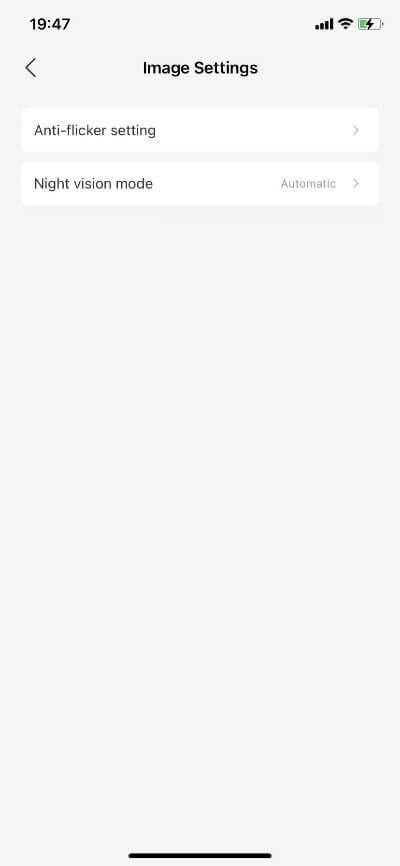
13) Click Settings → Image Settings, set anti-flicker/and select night vision mode
14) Click Settings → Sound Settings to set the microphone, recording, speaker and intercom volume.
15) Click Settings → Bell Settings to set Ding Dong.
16) Click Settings → Voicemail Settings to record voice messages.


17) Click Settings → Alarm Management to set motion detection and tamper alarm. In the mobile settings, you can turn on or off motion detection, motion detection sensitivity, set alarm mode, alarm plan, and set regional alarm.
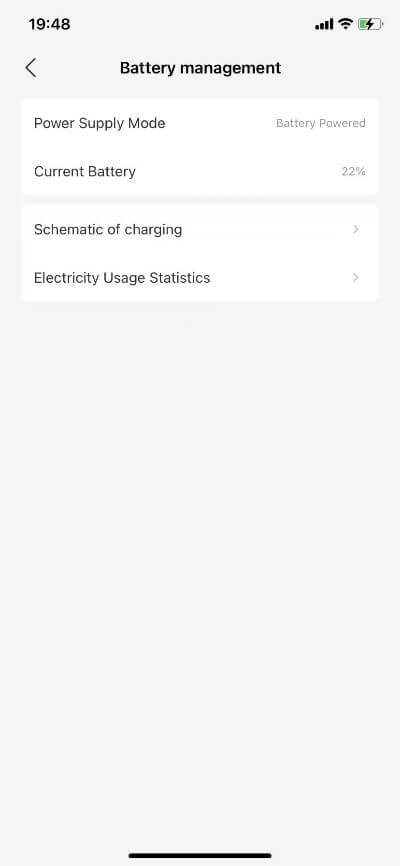
18) Click Settings → Battery settings to view the power level, view the power usage statistics, and the charging diagram.
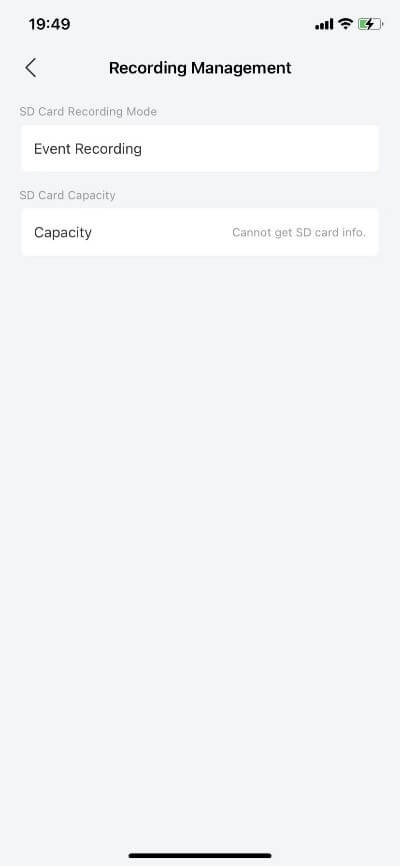
19) Click Settings → Video Management to view the video stored in the memory card.
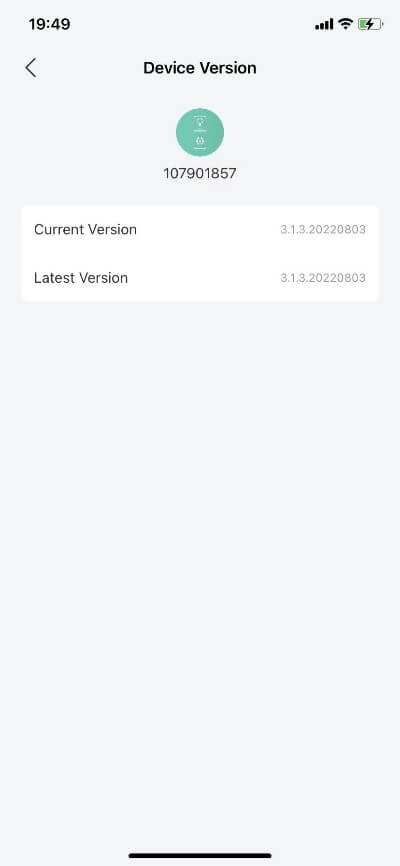
20) Click Settings → Check for new version to check the firmware update of the device.
21) Click Settings → Reboot Device, and turn off the device to reboot or turn off the device.
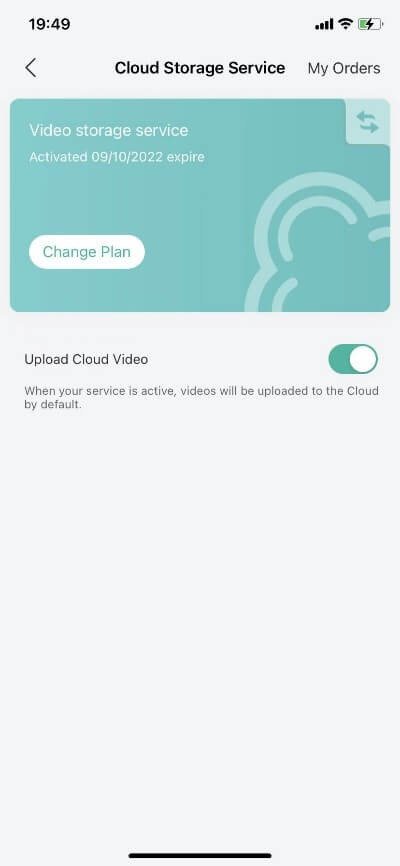
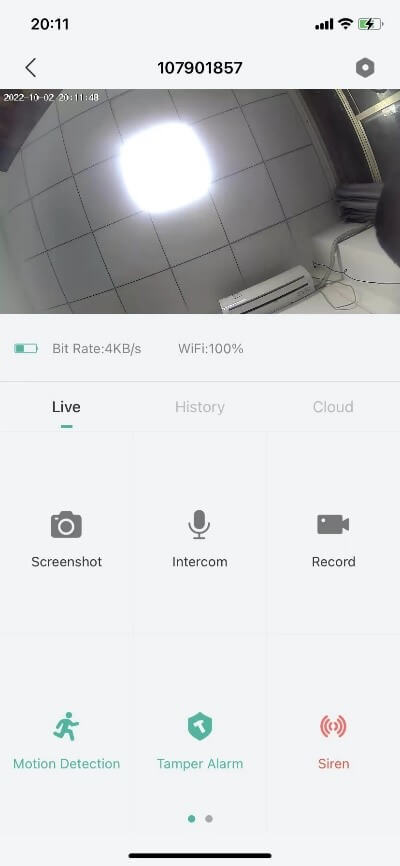
22) Click Home → to enter the preview, and use the screenshot, intercom, video, motion detection, tamper alarm, alarm, album and local playback, cloud storage playback functions.
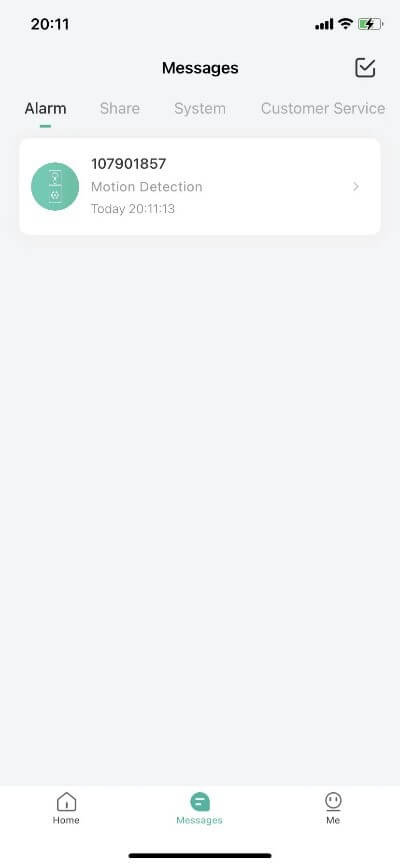
23) Click Information → View historical alarms, and click the play button next to the alarm to view the video recorded on the timeline at the time point.
Cloud storage charges
| AlertRecording | 7/24 Days Recording | |||
| Monthly | Yearly | Monthly | Yearly | |
| 3days | ¥12.00 | ¥119.00 | ¥22.00 | ¥219.00 |
| 3days | $2.99 | $30.00 | $3.99 | $40.00 |
| 7days | ¥15.00 | ¥149.00 | ¥25.00 | ¥249.00 |
| 7days | $4.99 | $50.00 | $6.99 | $70.00 |
| 30days | ¥32.00 | ¥319.00 | ¥52.00 | ¥519.00 |
| 30days | $15.99 | $160.00 | $21.99 | $220.00 |